How to Make ChatGPT Images Print-Ready for DTF Transfers

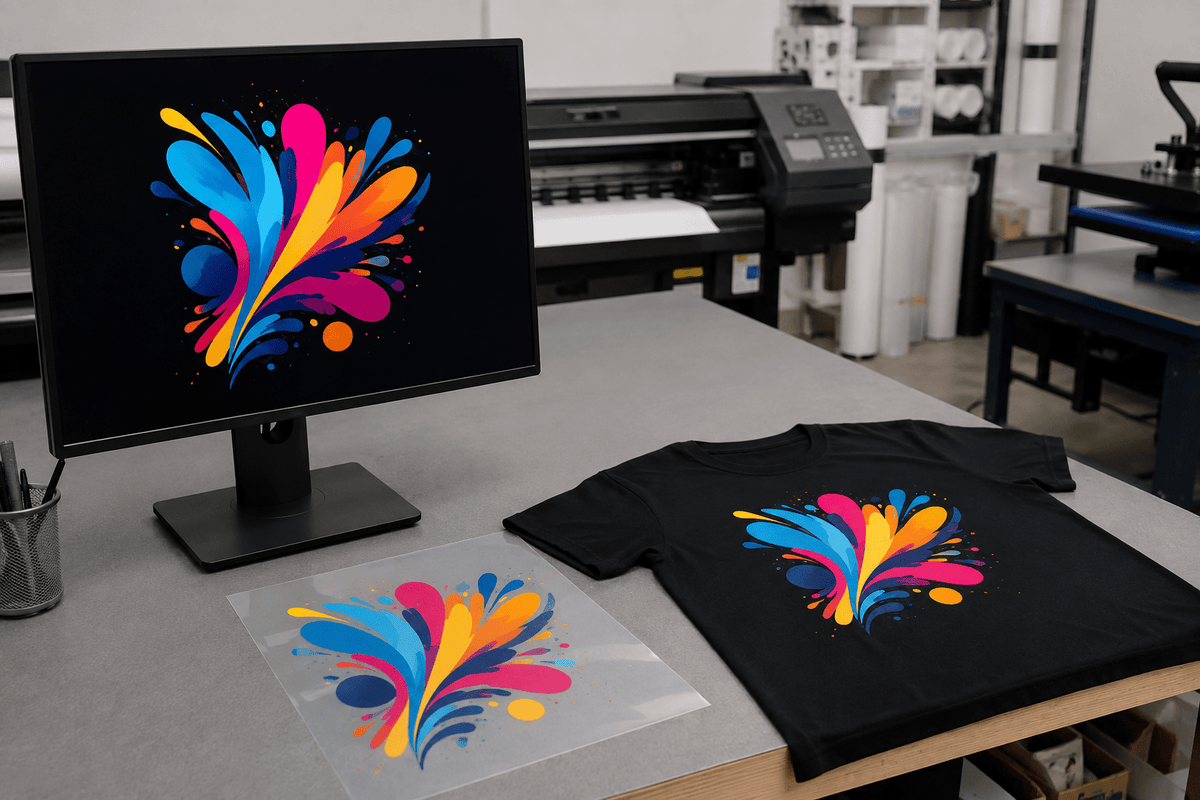
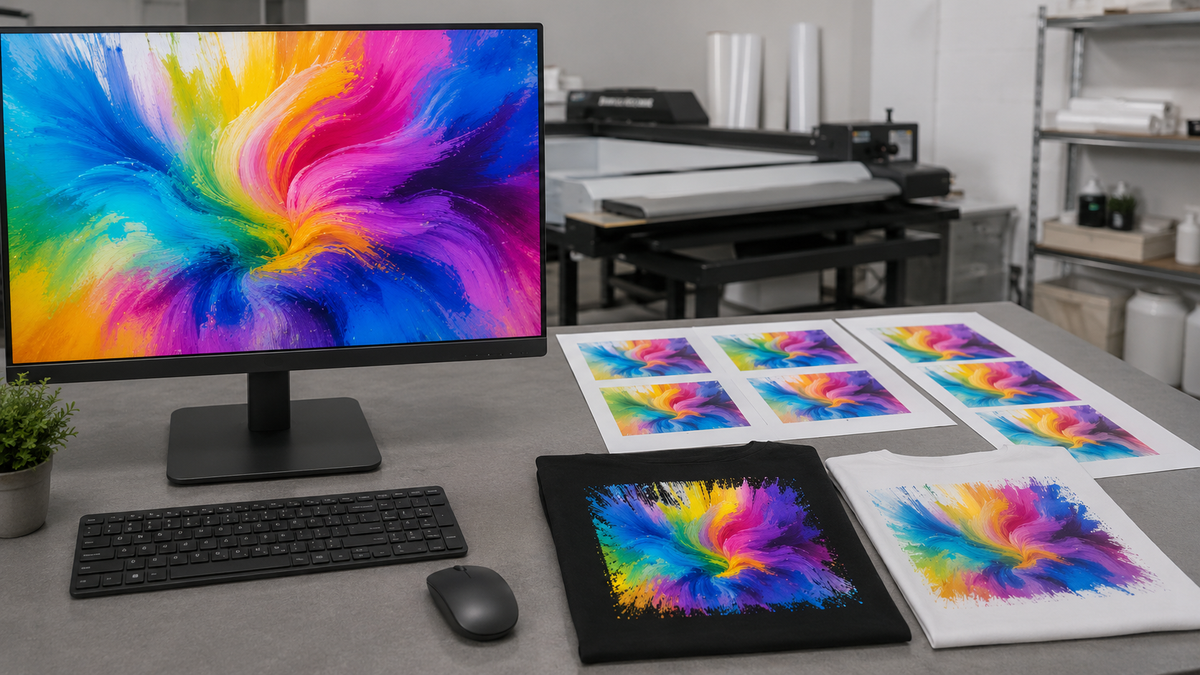
ChatGPT can create an impressive T-shirt idea in a few minutes. The design may look crisp on a phone or monitor, but that does not automatically make it ready for a DTF transfer.
Low pixel dimensions, fake transparency, white boxes, soft shadows, tiny stray pixels and distorted text can all become visible after the artwork is enlarged and printed. This guide shows you how to prepare a ChatGPT image before adding it to a DTF gang sheet.
Quick answer: Choose the highest available image resolution in ChatGPT before generating the artwork. Then download the original image, choose the final print size, confirm that the file has enough pixels for 300 PPI, verify real transparency, clean the edges and proofread every detail. Do not upload a screenshot or assume that a PNG is automatically print-ready.
Why ChatGPT Artwork Can Look Good on Screen but Print Poorly
A screen can make a small file look clean because the image is displayed at a reduced size. DTF printing uses the actual pixels in the file. When a small image is enlarged for an adult shirt front, every soft edge, misspelled letter and stray background pixel becomes larger too.
Common problems include:
- The artwork is too small for the requested print width.
- The background is white, gray or a fake checkerboard instead of transparent.
- Background-removal tools leave white or dark halos around the design.
- Glows, shadows and semi-transparent effects create unintended white ink or adhesive.
- AI-generated text contains spelling errors, malformed letters or uneven spacing.
- The file includes a shirt mockup, model or room instead of only the artwork.
- A screenshot or messaging app has compressed the image.
Step 1: Choose the Highest Available Resolution and Use a Print-Focused Prompt
Before generating the image, select the highest image resolution available in ChatGPT. Also choose an aspect ratio that closely fits the intended artwork so pixels are not wasted on excessive empty space.
Better prompts reduce cleanup, although no prompt can guarantee a production-ready file. Tell ChatGPT that you need standalone artwork, not a lifestyle mockup.
Copy-ready prompt
Create a standalone graphic for DTF apparel printing at the highest image resolution available. Use bold shapes, clean closed edges, solid colors, strong contrast and details large enough to remain clean after careful upscaling. Output only the artwork with a real transparent background. Do not include a shirt, model, mockup, wall, room, background scene, border, rectangle, checkerboard pattern, drop shadow, glow, smoke or semi-transparent effects. Keep all text large and readable. The intended finished print width is [WIDTH] inches. Use an aspect ratio that fits the artwork without excessive empty space.
Replace [WIDTH] with the real intended print size. A 3.5-inch left-chest design needs simpler details than an 11-inch adult shirt-front design.
Do not change the prompt to 36 inches solely to try to force a larger file. Physical inches in a prompt can influence how ChatGPT designs the artwork, but they do not guarantee more pixels in the downloaded image. Choose the highest available image resolution, download the original and check its actual pixel dimensions.
Step 2: Download the Original Image
Use ChatGPT's Save or Download control. Do not take a screenshot, copy a thumbnail from a message or send the image through an app that reduces file size.
Keep the original downloaded file as a backup. If you remove the background, upscale the image or add corrected text, save each edited version separately so you can return to the best available source.
Step 3: Match Pixel Dimensions to the Final Print Size
Setting a file to 300 PPI does not automatically add detail. The file must contain enough actual pixels for the requested physical size.
Required pixel width = intended print width in inches x 300
Important: A true 36-inch-wide file at 300 PPI would need to be 10,800 pixels wide. If ChatGPT produces a much smaller download, typing “36 inches” in the prompt did not create a 36-inch production file.

| Intended print width | Preferred pixel width at 300 PPI | Typical use |
|---|---|---|
| 3.5 inches | 1,050 pixels | Left chest |
| 4 inches | 1,200 pixels | Small logo |
| 8 inches | 2,400 pixels | Youth front |
| 10 inches | 3,000 pixels | Adult front |
| 11 inches | 3,300 pixels | Adult front |
| 12 inches | 3,600 pixels | Large adult front |
If the file is too small, reduce the print size, regenerate it using the highest available resolution or use a careful upscaling and cleanup workflow before placing it in the builder. A genuinely larger file can then be reduced to the final shirt size, which is better than enlarging a small file inside the builder. Upscaling can improve edges and add pixels, but it cannot reliably recover text or details that were never correct in the source.
Step 4: Verify a Truly Transparent Background
A PNG file can support transparency, but the PNG extension alone does not prove the background is transparent. A gray-and-white checkerboard can be part of the actual picture. A white background may also look harmless on a white screen while printing as a rectangle.

Inspect the exported file over white, black and medium gray. Zoom in around the outside edge and look for:
- White, black or gray fringe pixels
- Soft shadows or glows that should not print
- Partially erased patches
- Small isolated dots outside the main design
- Background color trapped inside letters or detailed shapes
Adobe's background-removal tools can provide a useful starting point, but detailed artwork may still require manual mask cleanup. Keep the original file and inspect the final export, not only the editable canvas.
Step 5: Remove or Rebuild Problem Effects
DTF printing uses a white underbase beneath colored artwork. Semi-transparent shadows, smoke, glow and distressed texture may behave differently than they appear on a screen. Faint edge pixels can become a visible dusty halo on dark fabric.
When an effect is important to the design, use deliberate printable shapes or a tested halftone treatment. When it is accidental, remove it completely. Avoid leaving partly transparent pixels simply because they are difficult to see on a white canvas.
Step 6: Proofread Text and AI-Generated Details
Read every letter, name, date and number at 100% zoom. Check repeated shapes, hands, faces, mascots and fine outlines. AI-generated text may look correct at a glance while containing an altered letter or spacing problem.
For important wording, consider creating the illustration in ChatGPT without text and adding the final typography in Canva, Photoshop, Illustrator or another design program. This gives you direct control over spelling, font weight and spacing.
Step 7: Choose the Right Production File
For most finished raster artwork, a high-resolution transparent PNG is the most predictable choice. Vector and mixed-layout artwork may be better supplied as PDF, AI, EPS or SVG when the uploader supports it and the file has been prepared correctly.
Do not convert a JPEG into a PNG and assume that creates transparency or restores quality. The new extension does not remove the old background or replace detail lost through compression.
For more guidance about PNG, PDF, RGB and CMYK files, read RGB vs. CMYK for DTF Printing: Why Print Colors Change.
Final ChatGPT Artwork Checklist
- The saved file contains only the artwork, not a shirt or mockup.
- The highest available image resolution was selected before generating the artwork.
- The intended print width is known.
- The pixel dimensions support approximately 300 PPI at that width.
- The background is truly transparent when transparency is intended.
- No unwanted white box, checkerboard, shadow, glow or halo remains.
- All words, names, dates and numbers are correct.
- Small details and thin lines still look clean at final size.
- The final exported file has been reopened and checked.
- The artwork has not been mirrored.
- You have the necessary rights to use the submitted artwork.
What Rolled Up Printing's Standard File Review Covers
Our standard review looks for obvious production problems, such as a visible white background, clearly damaged artwork or another major issue that can be seen before printing. It is not a full design-editing service, a guarantee that every small AI artifact will be found or a physical color-match proof.
Artwork is printed as submitted. If your file is blurry, has a difficult background, contains distorted text or needs professional preparation, use our Fix My Artwork service before ordering.
Build or Upload Your DTF Gang Sheet
When your individual graphics are ready, arrange and size them with the DTF Gang Sheet Builder. If you already have one completed 22-inch-wide layout, use Upload Your DTF Gang Sheet.
Frequently Asked Questions
Can ChatGPT create a transparent PNG?
ChatGPT can create or edit an image with a transparent background, but you should still verify the downloaded file over light and dark backgrounds. Do not rely on a visible checkerboard as proof.
Does asking ChatGPT for 300 DPI guarantee a print-ready file?
No. The actual pixel dimensions must support 300 pixels per inch at the intended print size. A small image does not become detailed simply because its resolution field says 300.
Which image resolution should I choose in ChatGPT?
Choose the highest image resolution available before generating or downloading the artwork. Then check the downloaded file's actual pixel dimensions because the selected resolution still might not provide enough pixels for the intended print width.
Can I use a screenshot of my ChatGPT image?
Avoid screenshots. Download the original image because screenshots may reduce dimensions, include interface elements or add compression.
Why did a white box print around my design?
The background was probably an opaque white area rather than transparent pixels. A white screen makes this easy to miss, so inspect the file over a dark background before submitting it.
Why do the edges look dusty on a dark shirt?
Background removal may have left faint or semi-transparent pixels around the design. Those pixels can receive white underbase and become more visible after printing.
What should I do if the artwork is too small?
Reduce the intended print size, recreate the design at larger pixel dimensions or use a careful upscaling and cleanup workflow. Check text and fine details again after upscaling.
Can Rolled Up Printing repair my AI-generated artwork?
Our Fix My Artwork service is available when a file needs professional preparation. Submit the best original file and explain the intended print size and requested corrections.

Leave a comment
This site is protected by hCaptcha and the hCaptcha Privacy Policy and Terms of Service apply.